The Unreal Engine plugin allows you to expose variables within the UE scene that can be used to control the parameters of the objects within the virtual environment. These variables will be presented as parameters within the RenderStream Layer in Disguise software. Modifying the value of a parameter in turn changes the value of the corresponding variable within UE thus altering the parameter/s of the selected actor within the scene.
Exposing Parameters within a UE Scene
Exposing the intensity of a light source
-
Add the RenderStream plugin.
Download the RenderStream plugin and extract it from the zip. Copy the RenderStream-UE folder and paste it into the Plugins folder in the UE project directory. -
Add a Cine Camera Actor.
In the Main Toolbar, click on the plus [+] Sign to quickly add an asset. Select Cinematic > Cine Camera Actor.
Rename the camera and position it. If you are using camera tracking, use offset 0,0,0.
-
Assign a RenderStream DefinitionChannel component to the Cine Camera Actor.
Select the Cine Camera Actor from the Outliner. In the Details panel, add a RenderStreamChannelDefinition component.

-
Open the Level Blueprint.
In the main toolbar above the level viewport, left-click on the Blueprint icon and select Open Level Blueprint.
-
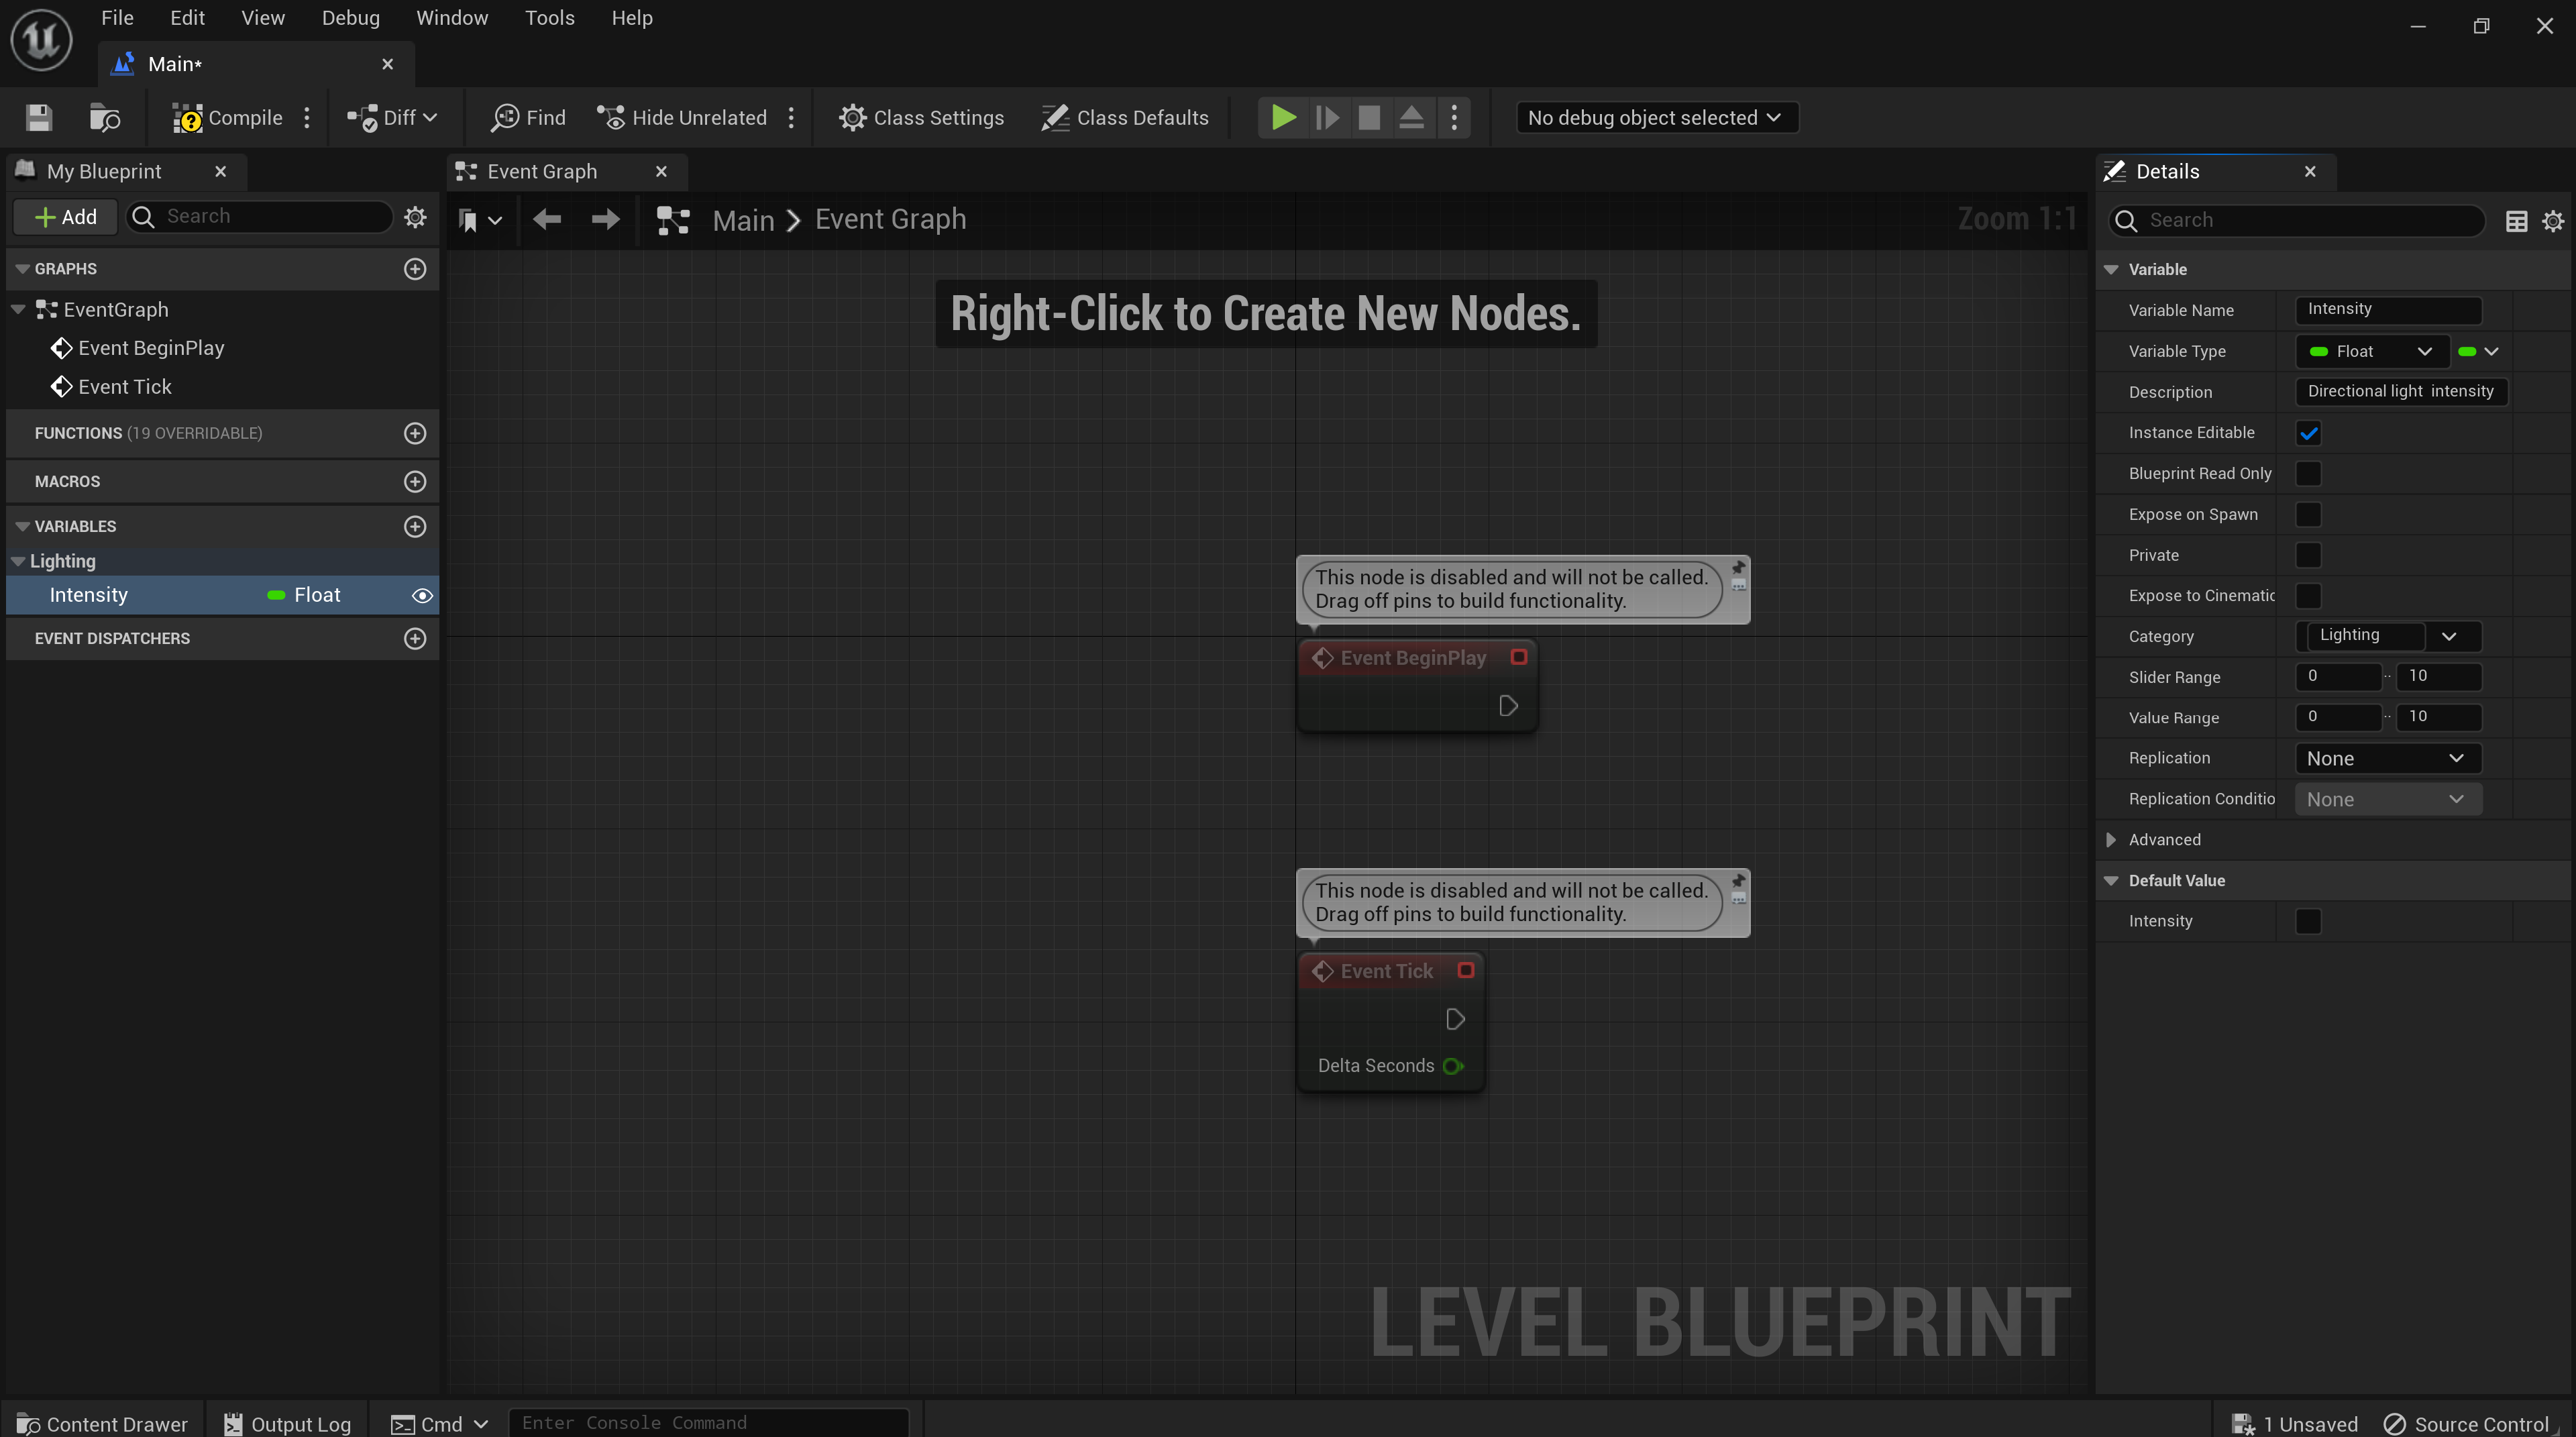
Add a Intensity variable to the Level Blueprint.
In My Blueprints > Variables, click the plus [+] symbol. Name the variable “Intensity”. -
Configure the variable using the following settings:
-
Select Float as the Variable Type.
-
Enable Instance Editable.
-
Click in the Default field and type Lighting to add a category.
-
Adding a variable description is optional.
-
Enter a minimum of 0 and a maximum 10.0 for theValue Range.
-
-
Click Compile, and then click Save.
-
Add a default value in the Details panel of 6.0.
-
Click Compile again and click Save.
-
Create an Event Tick by right-clicking on the graph and searching for it.
-
From the Outliner, drag the DirectionalLight asset onto the graph of the Level Blueprint.
This will create a blue node. -
Drag the blue connector pin. This provides a list of different nodes that we can choose from. Search for and select the Set Intensity (LightComponent) node.
This will create two nodes. Connect the Light Component Target pin to the DirectonalLight node. The Light Component pin automatically connects to the Target of the Set Intensity node.
-
Drag the Intensity variable created earlier onto the graph and select Get Intensity.
-
Connect it to the New Intensity connector on the Set Intensity node.
If you need to disconnect any node at any stage, press the ALT key and click the pin. -
Connect the Event Tick to the Set Intensity.
-
Compile and Save the Level Blueprint.
Select all of the nodes and press C to add a comment to the node group.
-
Close the Level Blueprint window to return to the level map.
-
Click File > Save All.
-
Close the project and open the Designer project.
When an Unreal project with an enabled RenderStream plugin is saved a .JSON file is created. This .JSON file contains engine version and plugin version details, channels, and any parameters that have been exposed.
Remotely Controlling Parameters in Designer
In the Designer project, navigate to the RenderStream layer. A Lighting category is now visible under the Properties tab. Below that category is a LightSourceIntensity parameter.
-
To start the workload, right-click on Workload in the Render Stream Layer editor.
-
Click Start.
The Intensity is set to 6. This is the default value set through the Level Blueprint. When the value is changed while the stream is running, the light intensity of the scene on the LED screen will also change.
Test the parameter by changing the value from 6 to 0.


It is also possible to keyframe this property. As the parameter/value that has been exposed is a numerical value, the value can be animated over a period of time. To do this, select the keyframe stopwatch symbol and add points to the keyframe timeline. Once complete, click Play and you will see the Unreal Engine scene update live through the programming on the Designer timeline.
Types of parameters that can be exposed
-
Lights
-
Colour
-
Transform
-
Rotation
-
Scale
Additional Information
To learn more about Blueprints view the Unreal Engine documentation.
Warning: Remote Parameters attached to Event Tick are expensive and resource hungry and should only be used for frame syncronous keyframing of parameters. For general purpose manipulation of the scene, like adjusting lighting or placing objects - Unreal has workflows using the Remote Control API, or their Multi-User Editor products - which are far lower cost to the scene. This will help with performance optimisation on scenes..