Creating and switching venues
-
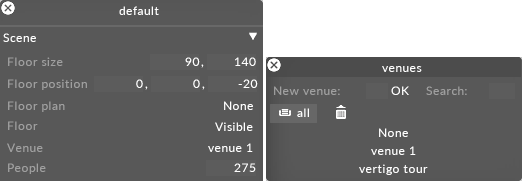
Right-click stage from the dashboard (bar at the top of the screen). This will open the Stage editor.
-
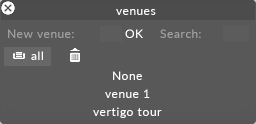
Left-click venue. This will open up the Venues manager which displays a list of all of the venues you have created. The venues listed in the Venues manager are the same regardless of which stage is active, allowing you to share venues in multiple stages. A new project will by default contain one venue called venue 1.
-
Type the name of the new venue in the new venue text box, in this example venue 2 , and hit Enter . This will create the venue and add it to the list of venues in the Venue manager. You can now edit the venue by adding or removing props.

Process used to add a venue to the currently active stage, in this example Venue 1
-
Left-click the venue from the Venue manager you want to switch to. The venue will then be updated in the currently active stage.

Switching venues by left-clicking a venue from the Venues manager
-
Left-click and drag the venue you want to delete from the Venue manager to trash (represented by a trash-can icon).
-
Right-click Trash and select Empty Trash to permanently delete the venue

Warning: you can never permanently delete a venue if its active or referenced to from anywhere in the project.